Granting & Receiving Proxy Access to a Student’s Account
1. Once you are logged in, click on your Username at the top of the screen, and select View/Add Proxy Access.
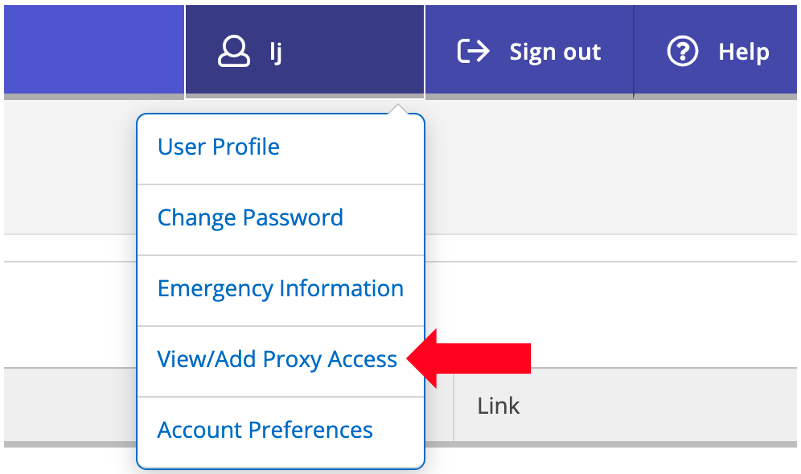
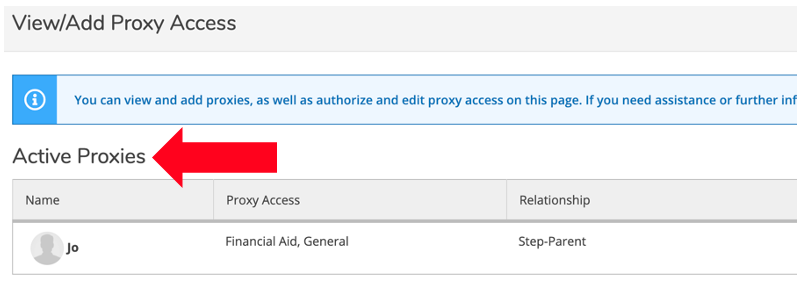
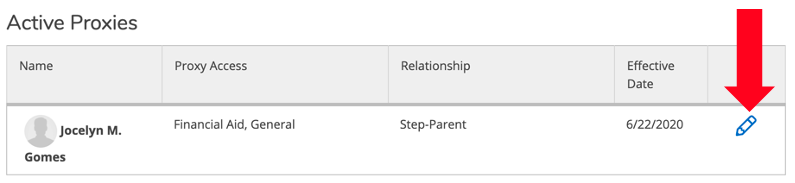
If you already have proxies assigned, you will see them listed under Active Proxies.
2. To add a Proxy, scroll down to Add a Proxy and in the Select a Proxy drop down menu, select Add Another User.
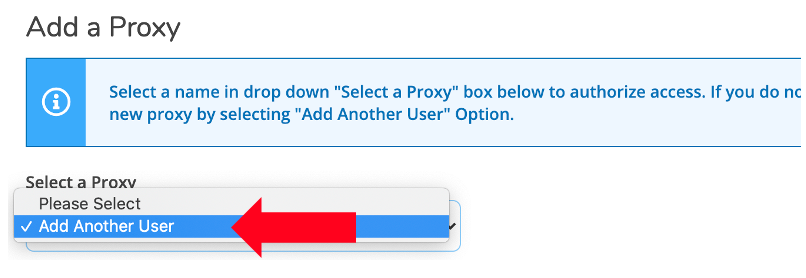
Fill out Proxy Information. Fields with an asterisk (*) are required.

You can either Allow Complete Access or Allow Select Access to selected areas.


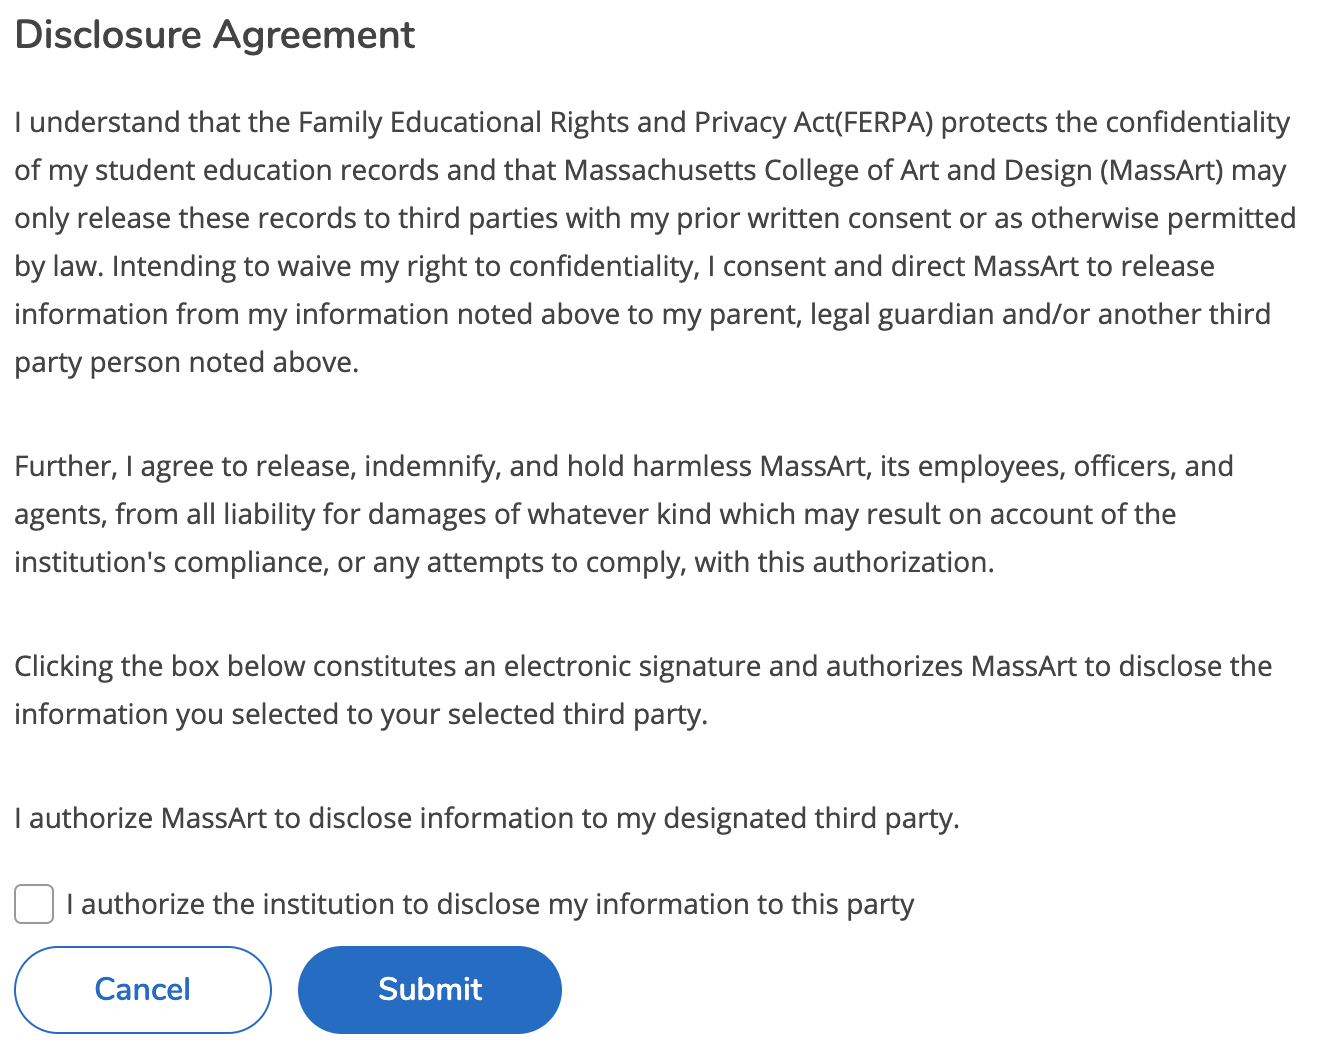
3. Be sure to click the Authorize checkbox in the Disclosure Agreement, and then click Submit.
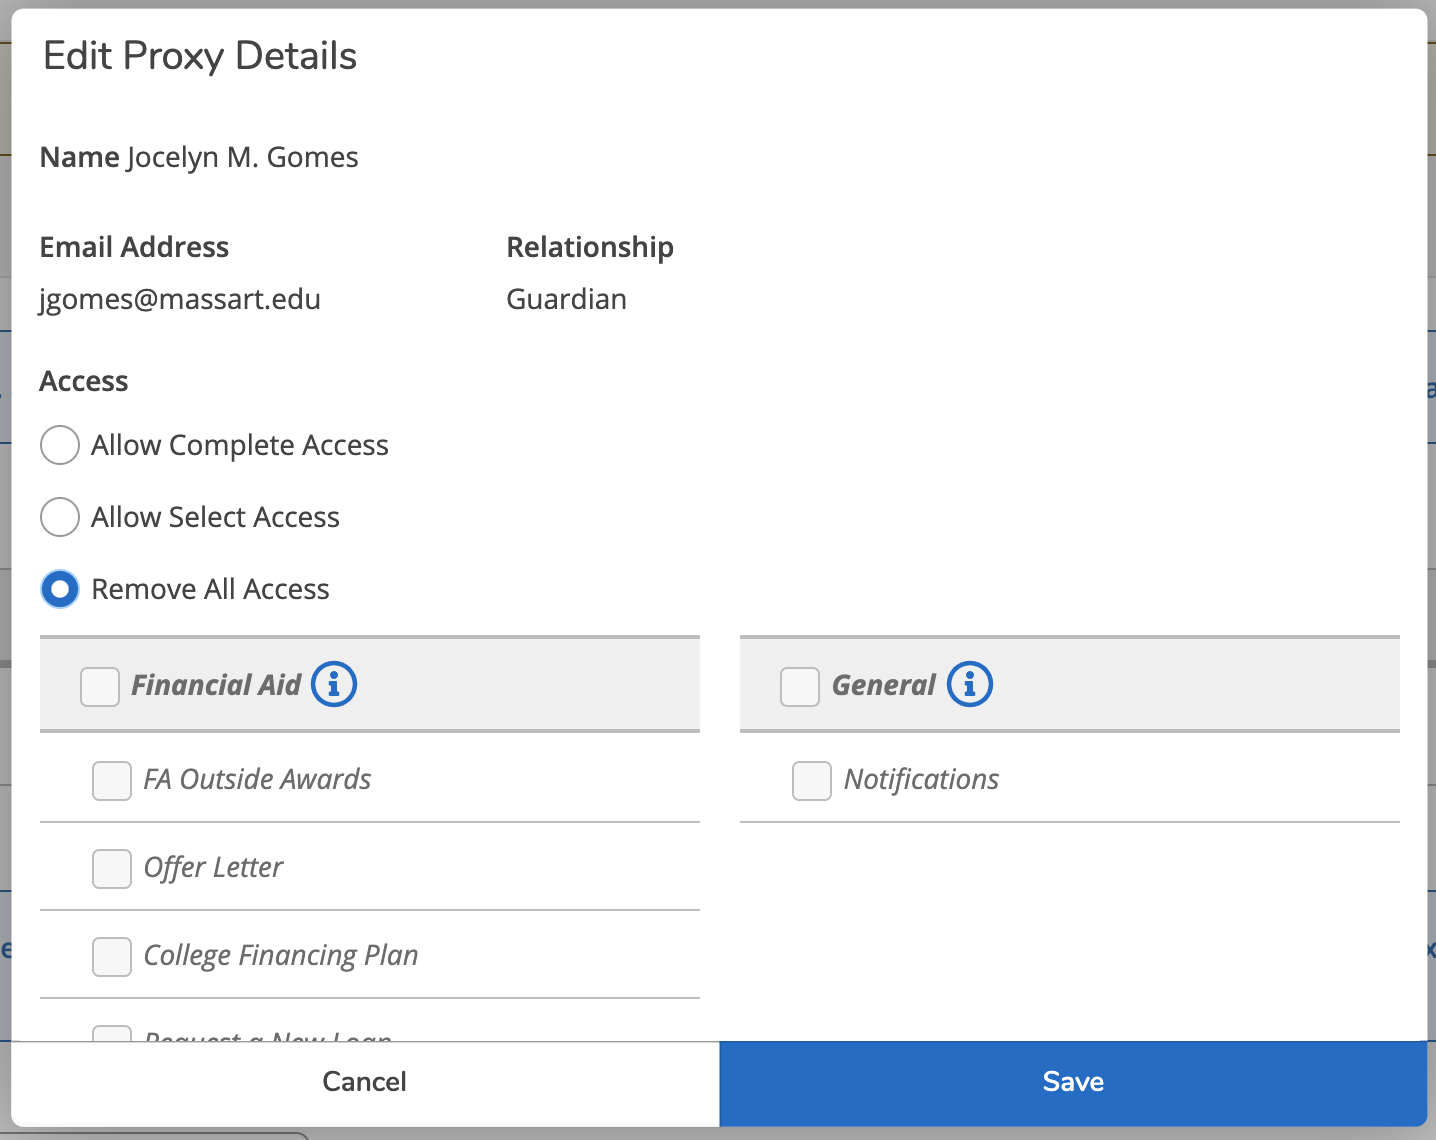
(Optional) Change or remove access for a proxy by clicking the pencil to the right of your proxy’s name under Active Proxies.
Change the access type to Allow Complete Access, Allow Select Access, or Remove All Access. Then click Save.
You cannot modify your proxy’s information. If you have entered information incorrectly, you will need to contact the MassArt EAI Team.
To reset your password, go here: Password Reset or contact the help desk at Helpdesk@Massart.edu.
Frequently Asked Questions by Students
Return to the Bursar's Office.
Return to Self Service on MassArt.edu.